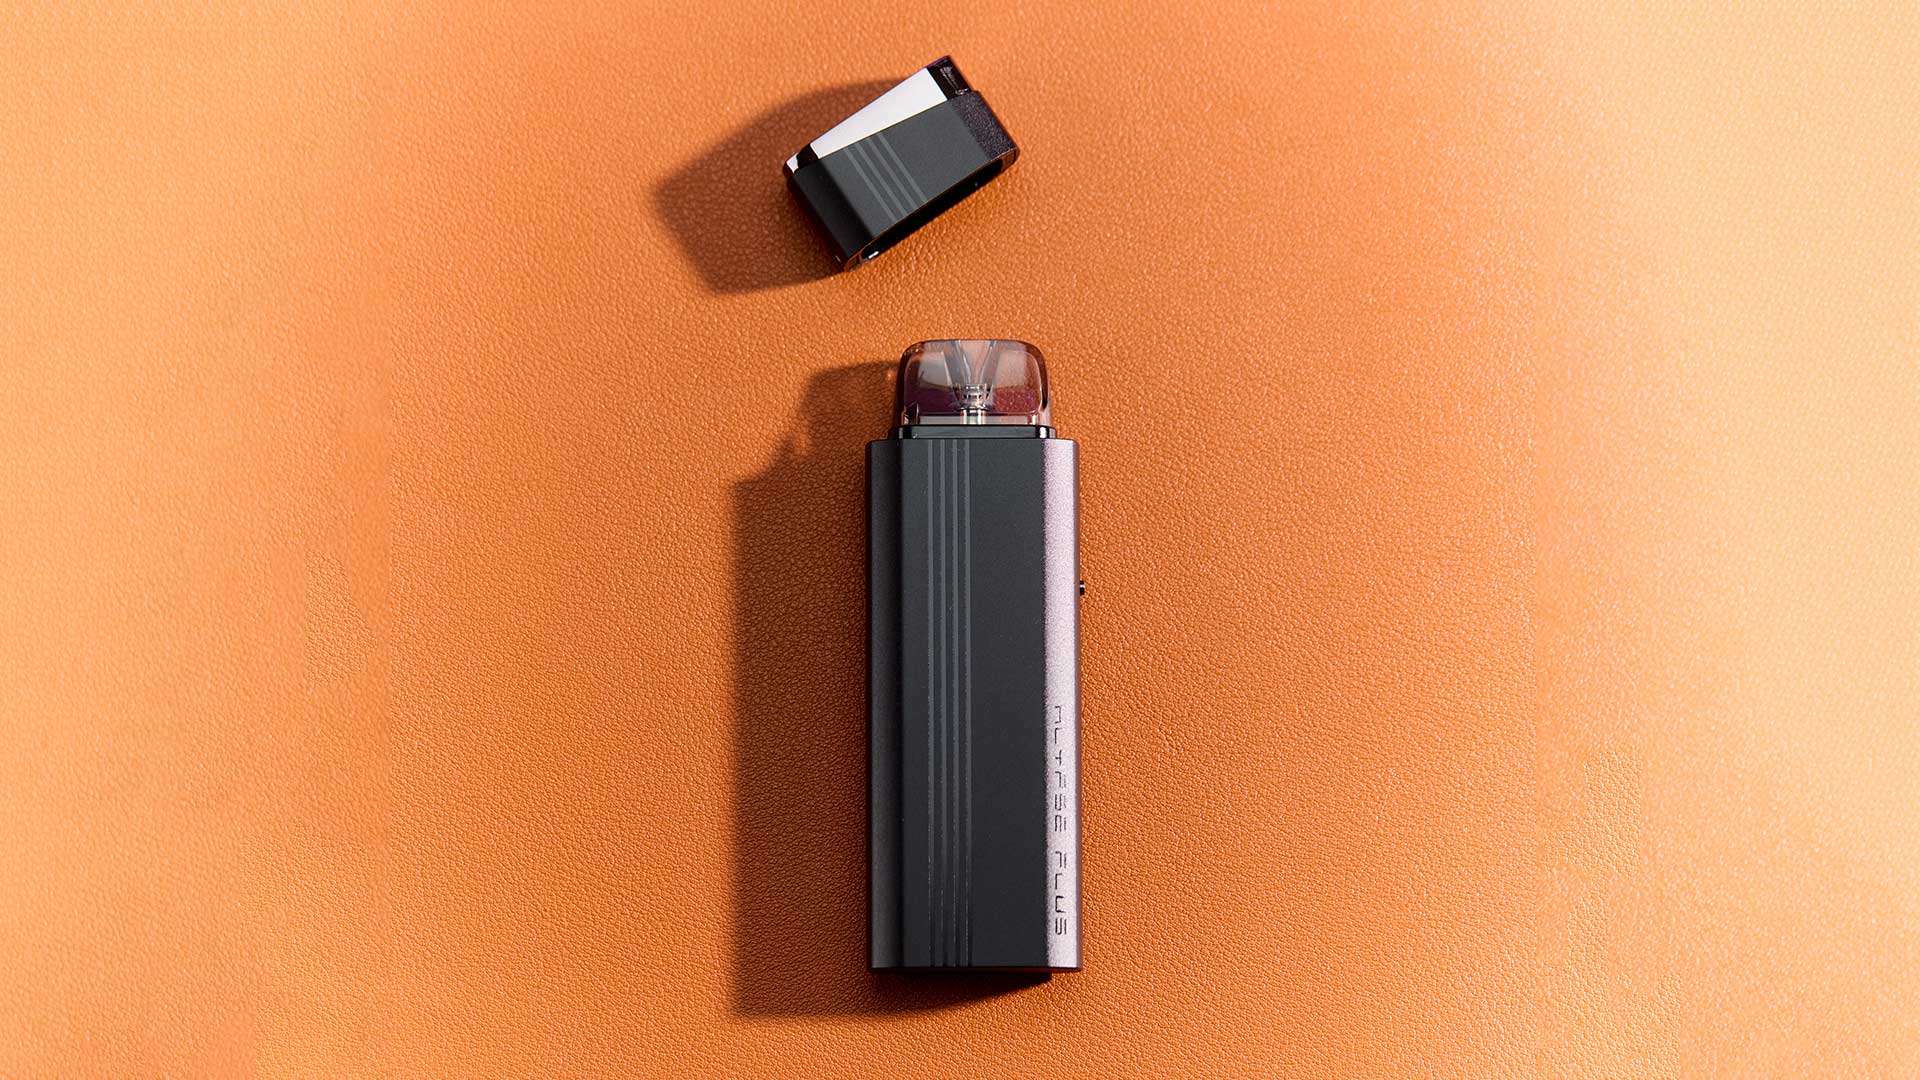
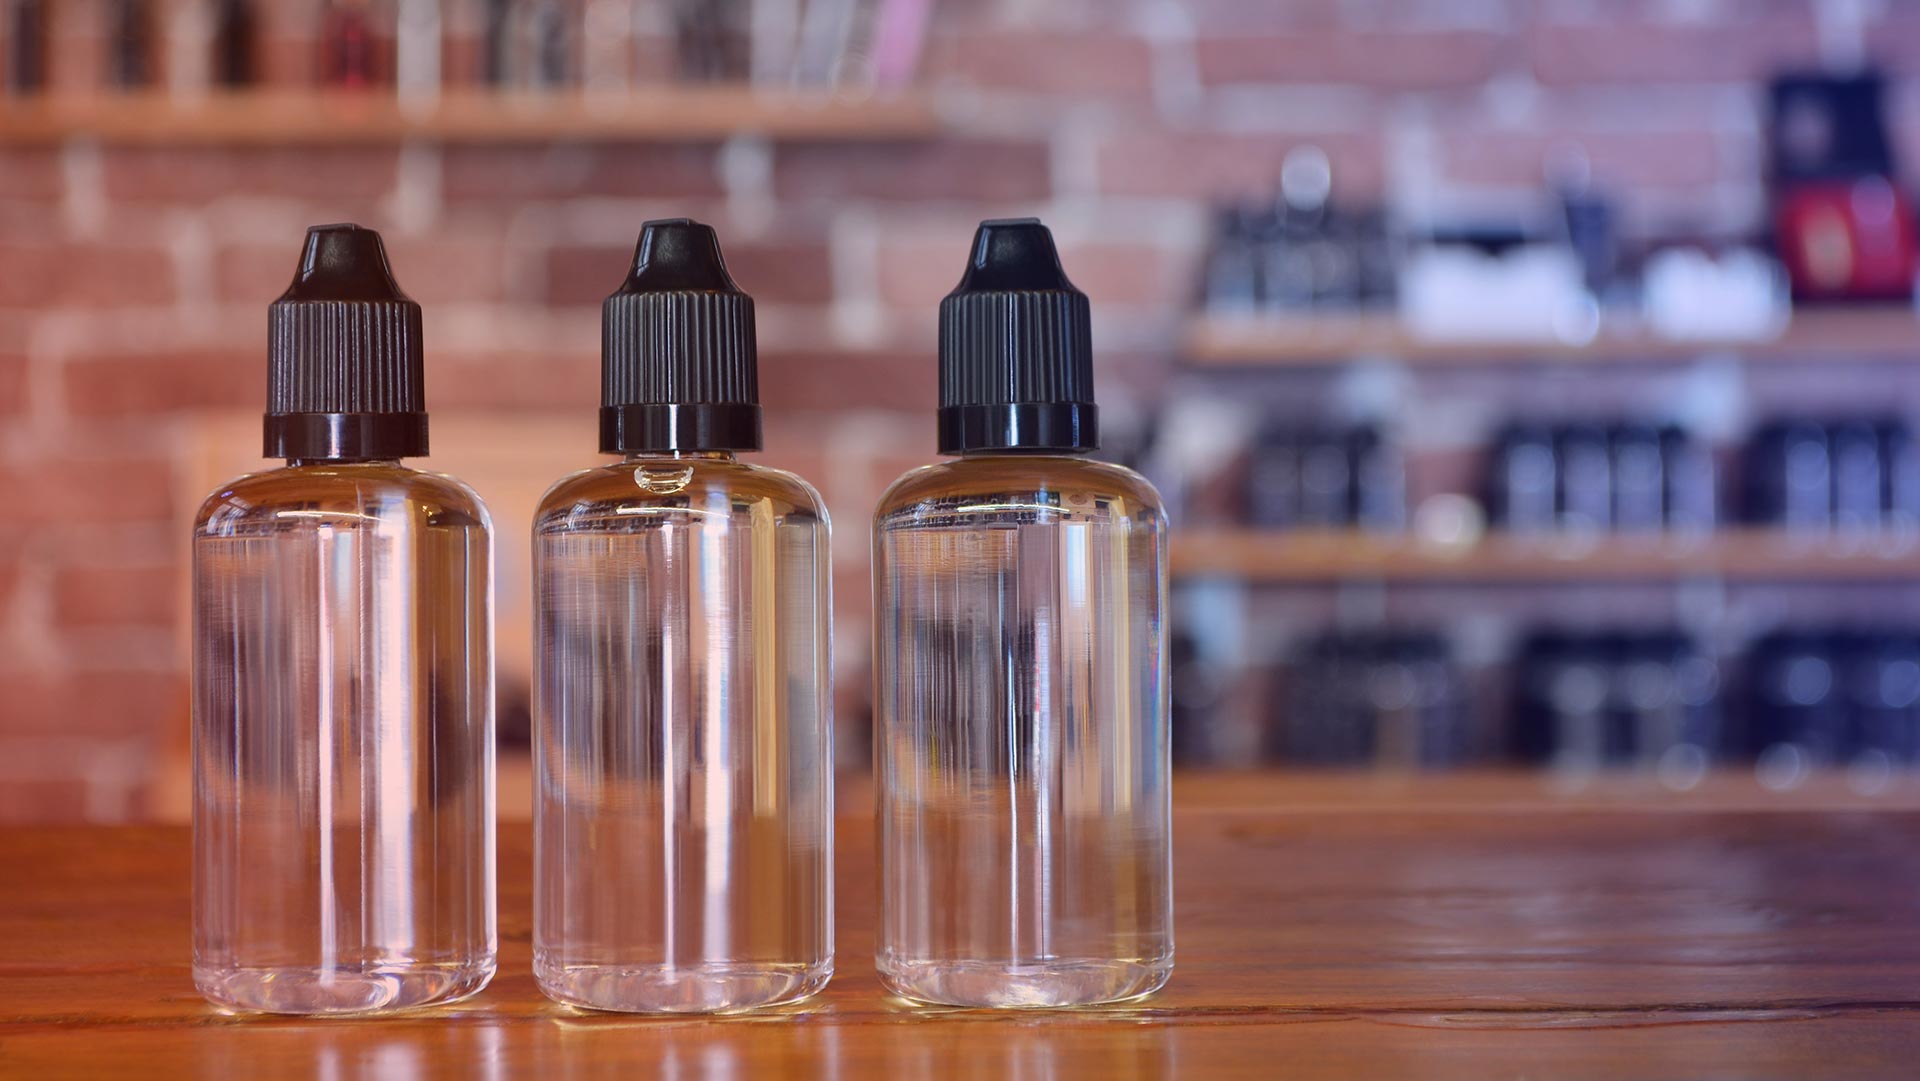
It’s no secret - a clean and maintained vaporizer will always give you better results than a dirty and unkempt one. These cutting-edge electronic vaporizers we enjoy today can generally take their fair share of everyday wear and tear, but as is the case with most mobile electronic devices, they require some careful attention and consistent cleaning to keep them in tip-top shape.
When you first unbox your new vaporizer, you’ll be smitten with the spotless screen, a complete lack of fingerprints, and an effortless flavorful vape from the first fill up in a brand new tank of e-liquid. In the same way, something like a car requires adherence to a specific maintenance schedule, thorough inspections, and frequent washing, a vaporizer is not all that much different. A few months later, your previously shiny and new vaporizer might not be living up to the same performance it was when you first unboxed it. Proper cleaning and sticking to a routine is one of the best things you can do for your vaporizer - some are simple everyday measures, and some require a little more work. In some circumstances, user error or neglect of a vaporizer can eventually lead to a poorly performing vaporizer, or in the worst-case scenario, total device failure.
That said, we believe you and your vaporizer both deserve a mutually beneficial relationship together, and what better way to help guarantee that than maintaining your device? Here are our top five ways to maintain your vaporizer!
#1 Keep your mod clean
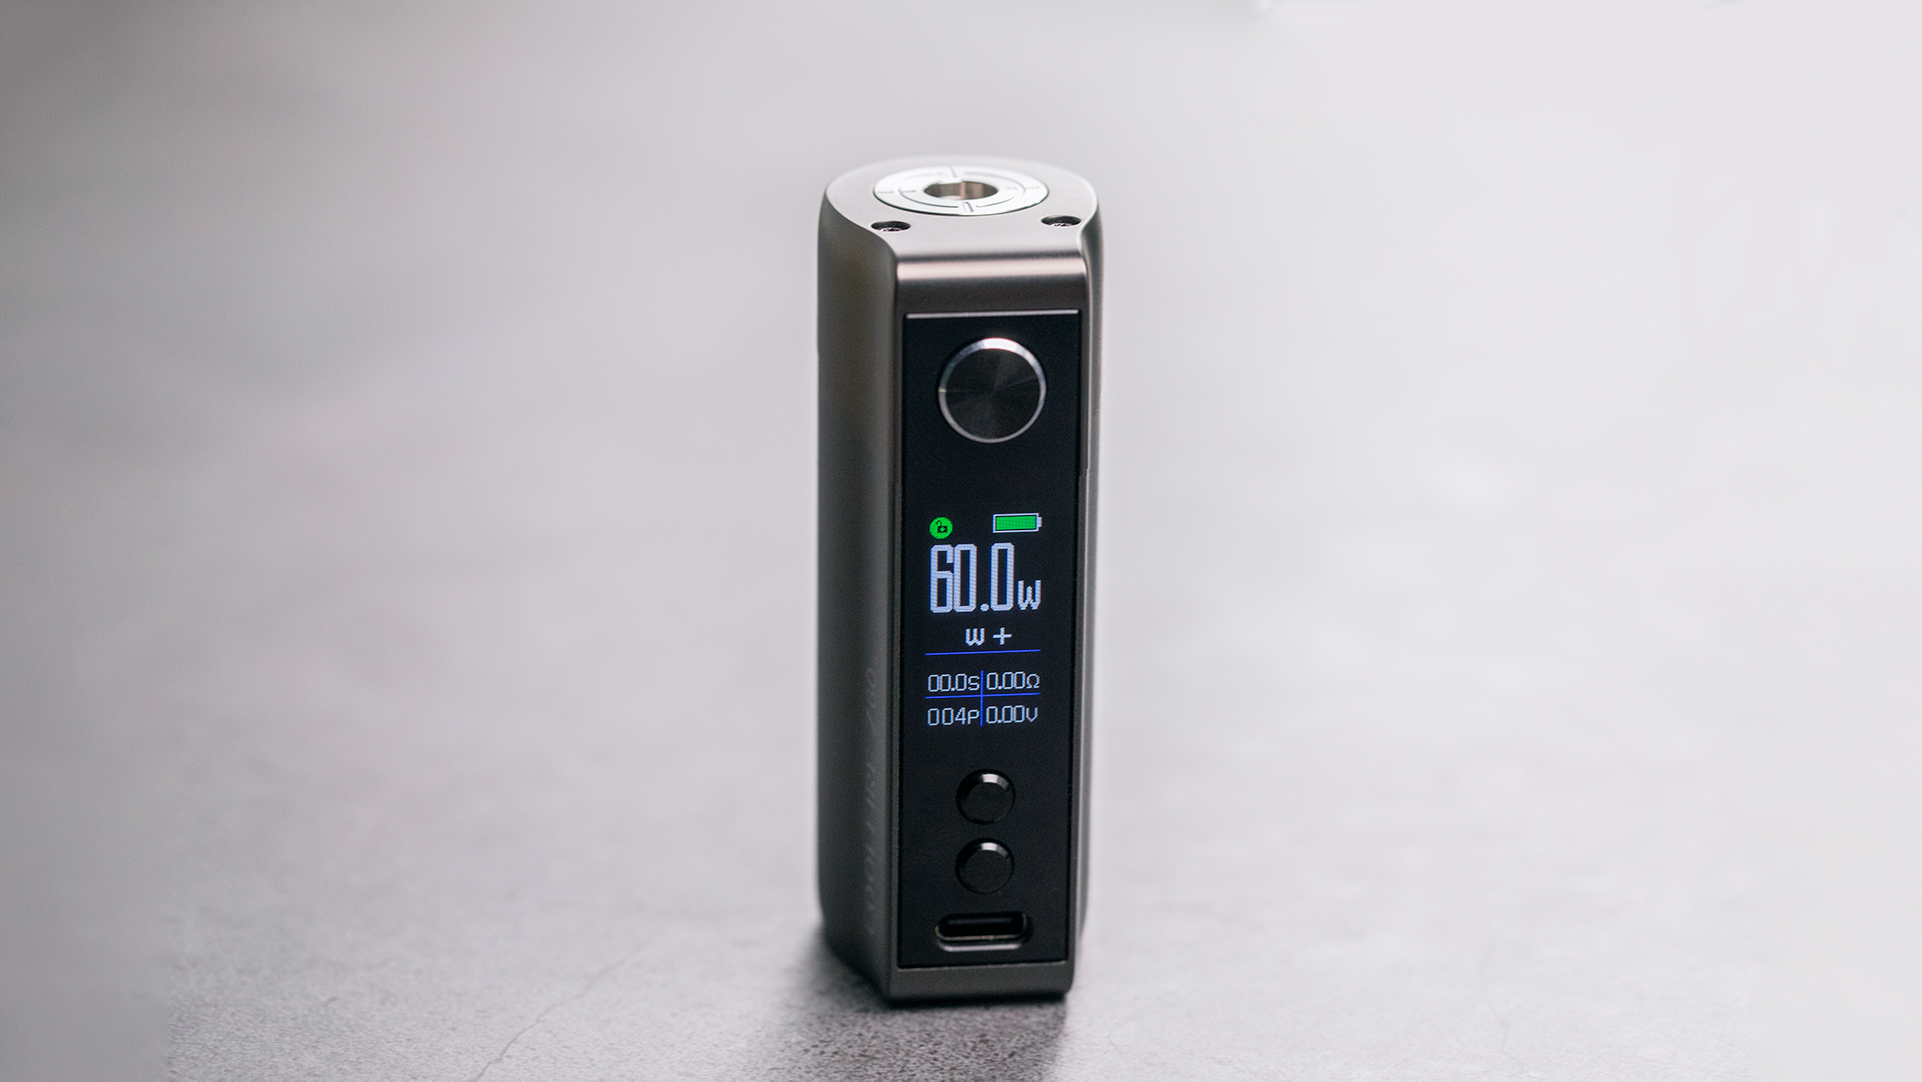
The first step to take in maintaining the function and quality of your vaporizer is to ensure the device is clean at all times. It’s important to understand the basic anatomy and structure of a vaporizer and how each part functions together so you can better understand which areas are most necessary to keep an eye on for proper day-to-day use. The tank, or pod, which houses your e-liquid and coil - and the battery, or mod, which houses all of your important electronic components, power source, screen, and interfaces. Not every vaporizer is built the same, and while our general guidance will typically apply for most devices, it’s always worth putting in your own research and due diligence in case you are working with a vaporizer with an uncommon design. For our first step, we’ll be focusing on the mod section of your vaporizer.
Start off by inspecting the mod from the top to bottom. Keep note of any area that shows obvious grime or dirt build-up - more on that shortly. Most mods have screens that can pick up light scratching and scuffs from normal use and are important to keep clean so you can properly read the interface of your vaporizer. Using a microfiber cloth, begin cleaning your vaporizer by gently wiping the screen clean. Use strokes in the same direction to best prevent scratching of the screen and be mindful not to press down too hard while you wipe. Patient and repetitive strokes pay off when cleaning the screen of your vaporizer. It’s important to note that you do NOT want to use water or soap when cleaning your screen - the vast majority of electronics, vaporizers included, do not want to have water trapped inside the housing and potentially short-circuit or break the main board of your device the next time you use it.
Next, take a look at the main buttons - most vaporizers will have one main power button, and typically two adjustment buttons to navigate various settings. Buttons can build up some of the most dirt and grime from use due to their nature, so cleaning them often is highly recommended. Using a cotton swab and a small amount of isopropyl alcohol, take the swab and clean it around the edges of each button. Push gently into the mod to spread the alcohol into the edges of the button in case there is some gunk stuck in the crevice between the button and the main body of the device. Not to worry - isopropyl alcohol evaporates quickly so as to not potentially harm the internals of your device.
After your buttons have been thoroughly swabbed, it’s time to use the other end of your cotton swab on the 510 connectors of your mod. The 510 connector is the threaded section near the top of the vaporizer, commonly silver in color with a brass-colored pin in the middle. Not all devices have 510 connectors, such as the Innokin Sceptre pod system - instead, devices like the Sceptre use a magnetic connection with brass-colored contacts. Like the threads and pins of a standard 510 connection, the contacts of a magnetic connector need to be cleaned, too. Start by wiping away any e-liquid or condensation build-up in your connector area with a microfiber cloth. Next, use the other end of your isopropyl-dipped cotton swab to thoroughly clean the threads and pins of your 510 connectors. Gently push down between the pin and threads and move the swab in a clockwise motion a few times. Pull the swab out a small amount and in a counter-clockwise motion, wipe away any grime or e-liquid that has built up on the threads. The alcohol will evaporate quickly like before.
Finally, it’s time to clean the main body of your vaporizer. Put a small amount of isopropyl alcohol on your microfiber cloth (do NOT use alcohol on rubberized finishes) and wipe down the entire body of your mod, making sure to pay extra close attention to areas where grime or dirt can build up, like where you commonly touch the vaporizer when it is gripped in your hand. The base of your mod should also be kept clean to ensure it stays upright and in place when on a level surface. Allow a quick minute for your mod to dry up, and you’re on to the next step!
#2 Clean your tank regularly
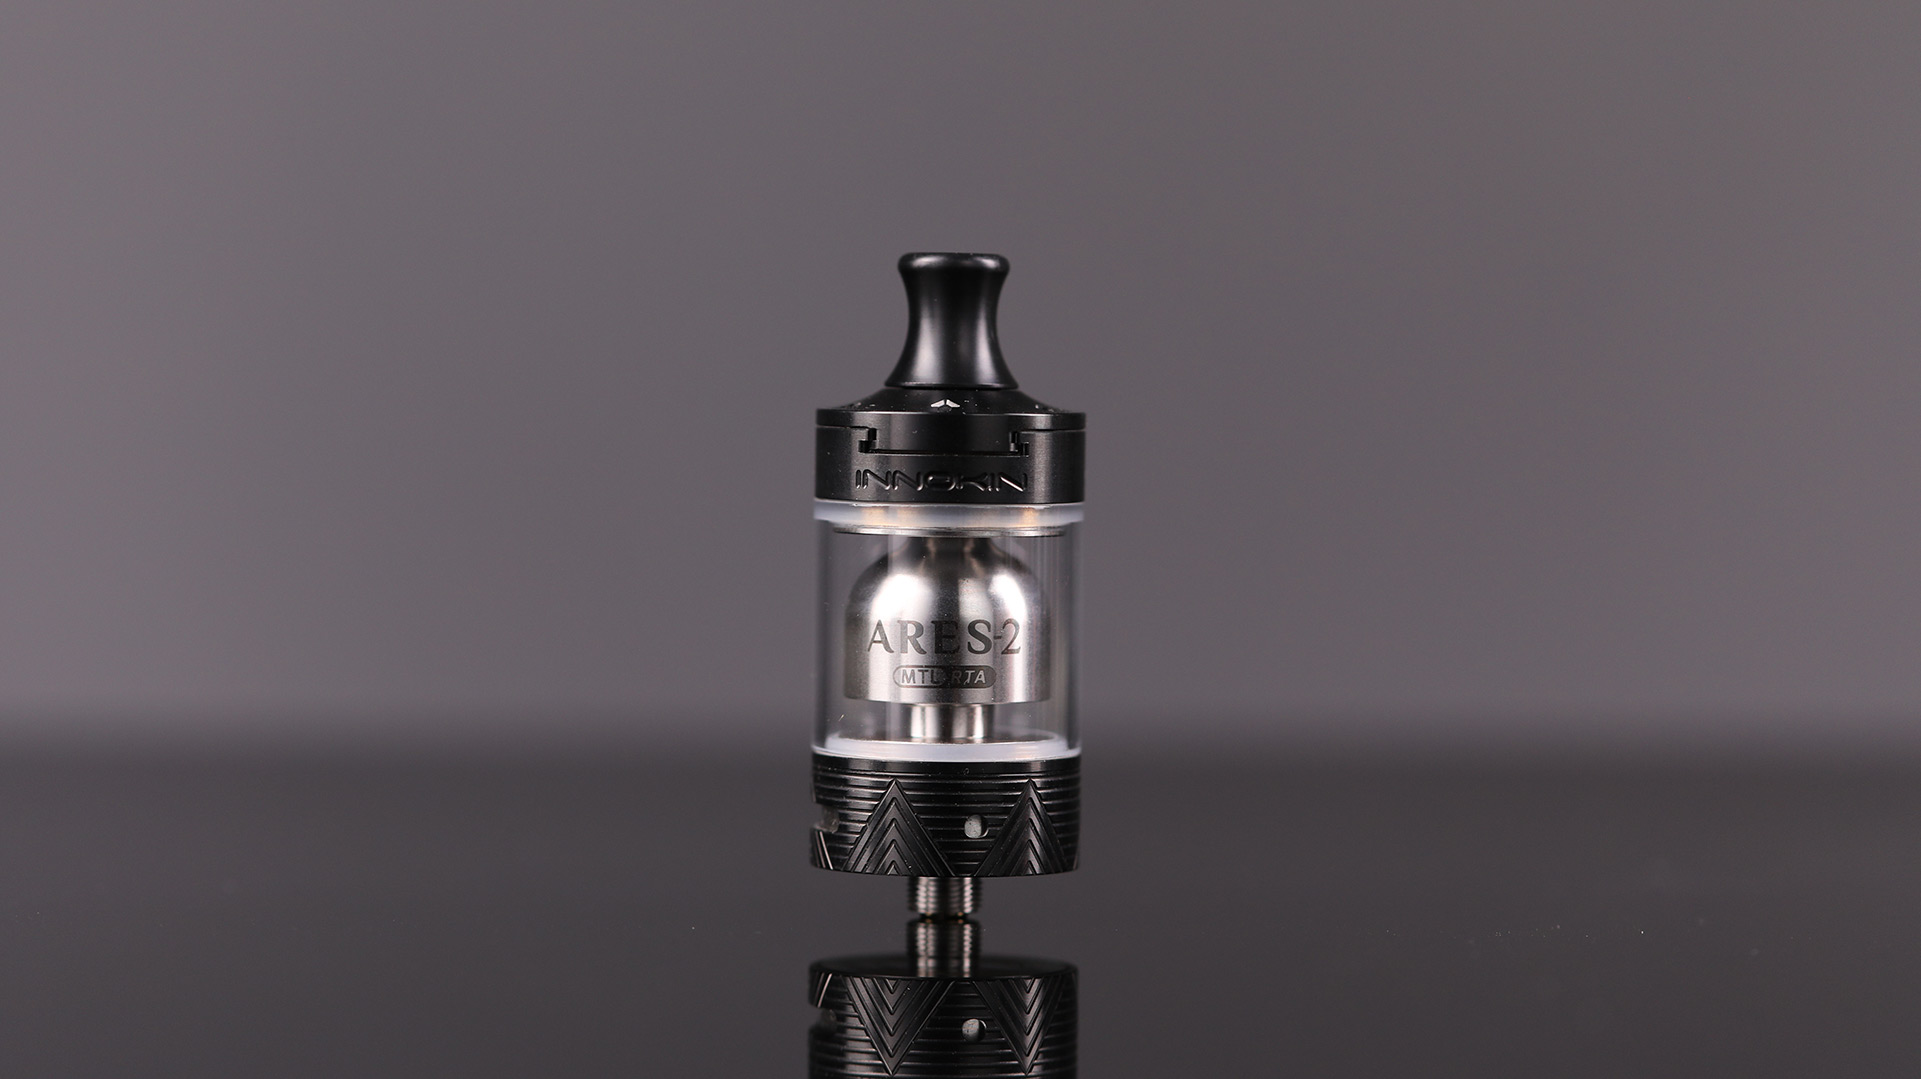
Arguably the most important part of any vaporizer to keep clean is your tank (or pod, if you’ve got a pod system). Over time as you use your vaporizer, you’ll likely want to change the flavors of e-liquid. Every time you change your e-liquid, we fully recommend cleaning your tank for improved flavor and better overall vaping satisfaction. Luckily for you, the process of cleaning a tank is fairly simple and stress-free!
Depending on your level of cleaning necessary, a simple soak and rinse should get your tank or pod clean and ready for your next vape. If you’re dealing with a particularly strong flavor or a tank that hasn’t been cleaned in months, you may need a safe solvent to clean your tank. In this circumstance, high-proof nonflavored vodka acts as a great way to give your tank a deep clean. Please note that if you are working with a tank or pod that is plastic, polycarbonate, or otherwise not a combination of glass and stainless steel that we do NOT recommend using any solvents to clean your tank. Stick to water if you aren’t sure!
Start by disassembling your tank, being mindful not to misplace any parts. Next, locate each o-ring or gasket in your tank and carefully remove them. They are most commonly found at the top and bottom of the glass sections inside a standard tank, and some tanks have additional fill gaskets in the top-fill section. Once removed, give each o-ring and gasket a short, gentle rinse under warm water for a few seconds, then place them on a paper towel. Remove the drip tip from your tank and give it a quick rinse under running water, then set it aside. Once your o-rings and drip tip are taken care of, it’s time to soak the rest of your tank components.
Take the metallic sections of your tank - typically the airflow control ring and top fill/chimney section, and place them into a small bowl. Fill the bowl with water (or a safe solvent) to a level that entirely submerges the components of your tank. Let them sit for about 30 minutes, then rinse them under running water. Set them aside to air dry. Repeat the same process, but with your glass tank section.
Now that your tank is nice and clean, carefully reassemble your tank piece by piece, and be extra delicate when putting your o-rings and gaskets back in place. If you happen to tear or damage one in the process, replace it immediately.
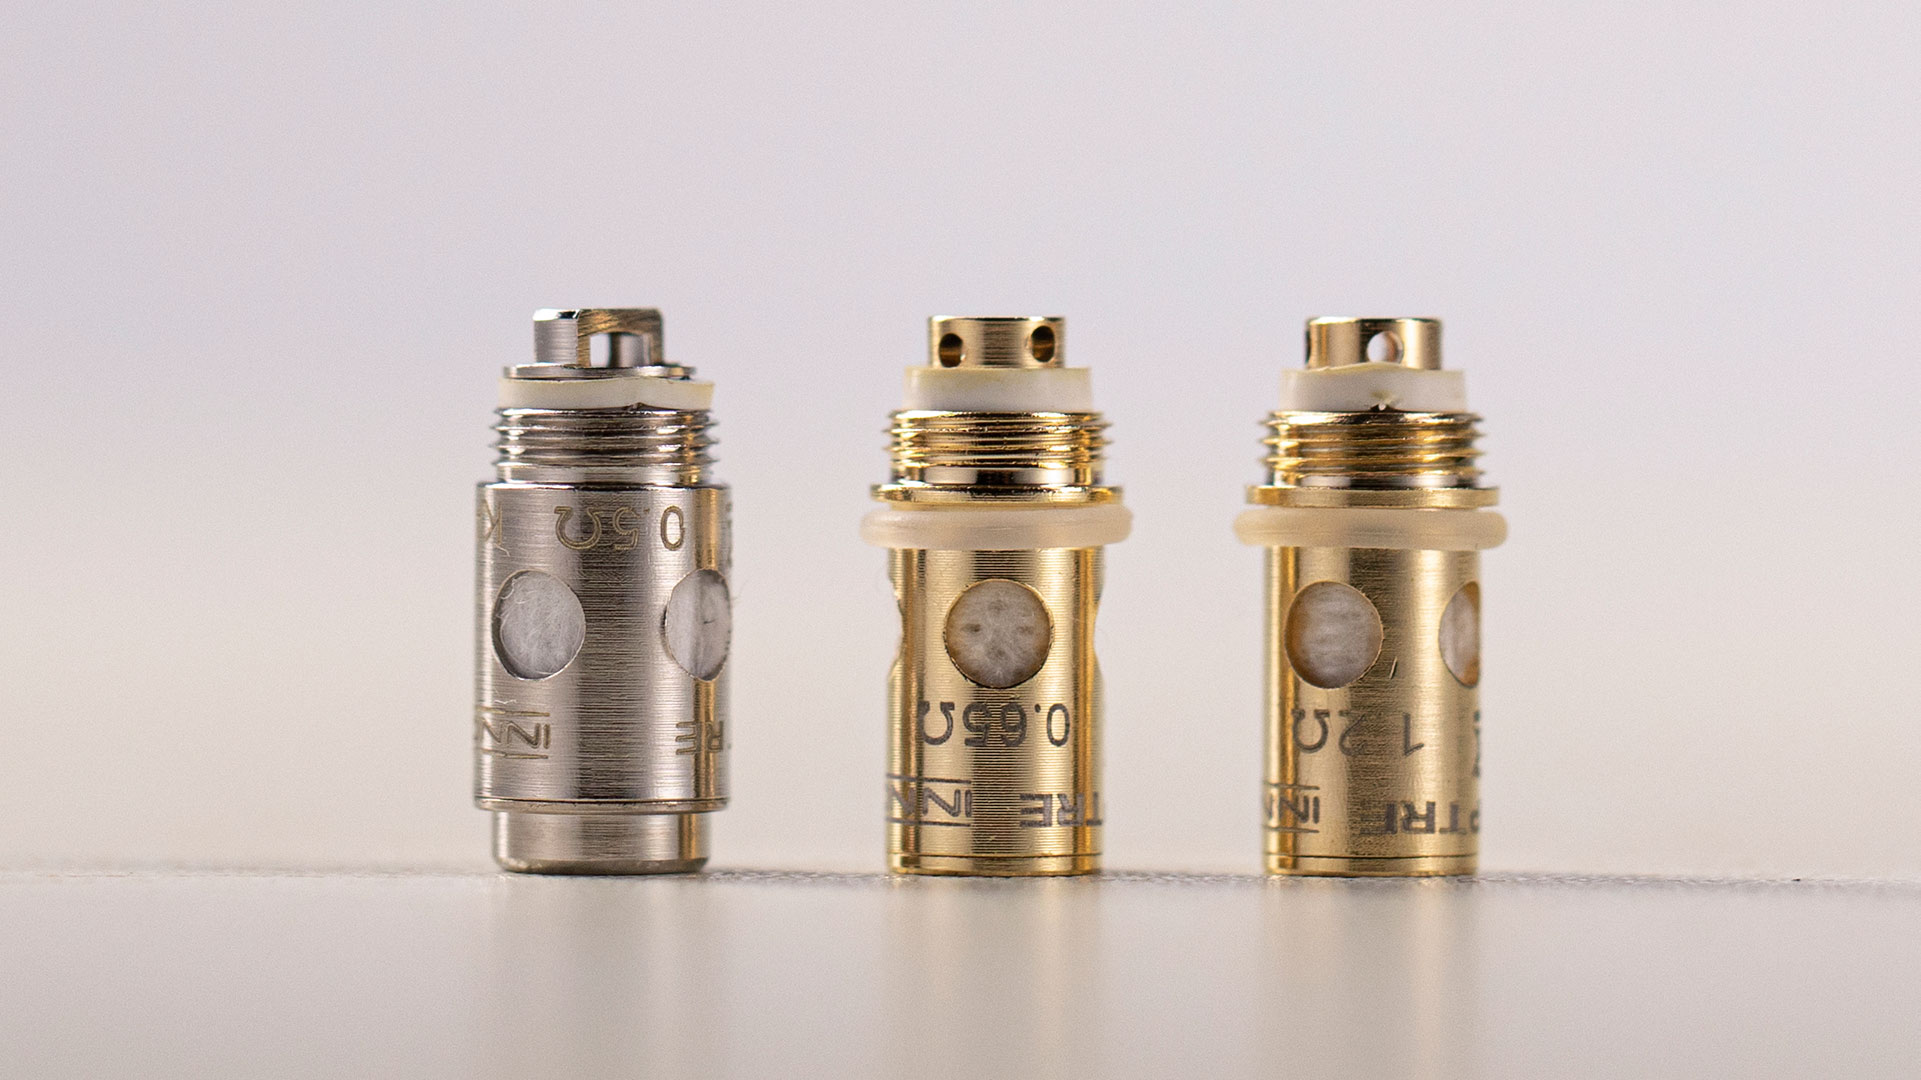
#3 Check and replace your coil regularly
The coil is the heart of every vaporizer. It’s responsible for providing those thick, billowy clouds of tasty vapor, and it’s important to treat it right and replace it once it’s been used enough. Some inexperienced vapers might think that just because a coil is still vaporizing e-liquid that it’s still suitable to use - however, over time the wicking material inside the coil, typically cotton, will degrade slightly after each and every use, eventually to the point of developing an unwanted burnt flavor or a muted flavor response. The process of heating up and cooling down that the coil regularly engages in will take its toll and result in diminished functionality in the cotton-wicking material. Additionally, vapers that regularly “chain vape” can put their coil at enhanced risk of developing these symptoms faster than normal. It’s best to let your coil rest a few seconds in-between hits to best maximize your coil’s performance and life span.
All things considered, a coil is a consumable part of every vaporizer and should be replaced regularly after a fair amount of use. Most Innokin vaporizers sport a healthy one to two weeks of reliable coil life and should be replaced regularly within that interval. If you’re using a relatively sweet or strong flavor of e-liquid, you will likely find that you’ll be needing to replace the coil sooner rather than later.
#4 Keep up with your battery health
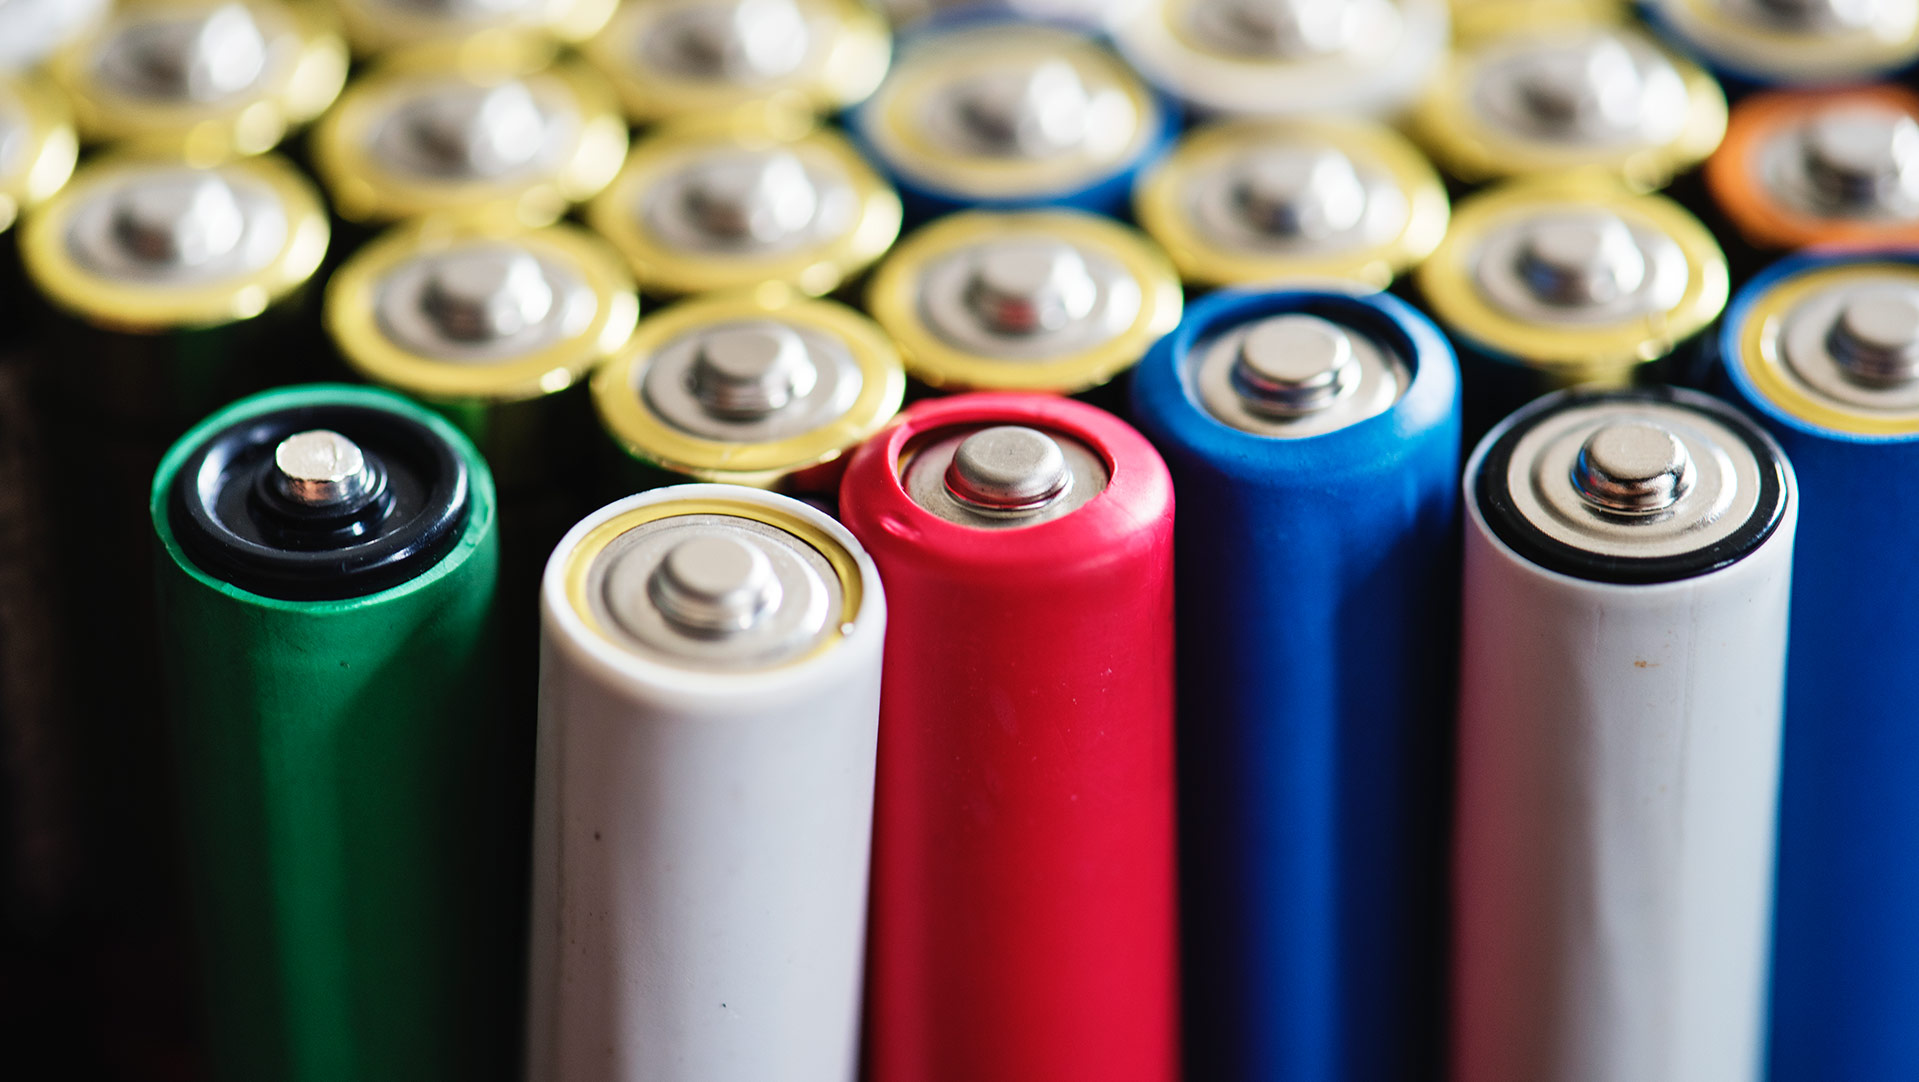
Did you know that you can severely affect the lifespan of your vaporizer’s battery by the way you use and charge it? Lithium-ion batteries commonly found in vaporizers may not suffer from the age-old “memory” effect like nickel-based batteries did back in the day, but they have their own set of quirks and optimal usage routines that you can utilize to squeeze better performance and lifespan out of your battery.
Thinking about storing your vaporizer for the long term (a month or more) without using it? Turns out, it’s best to keep your battery’s charge at right around 50% if so. Doing this puts minimal stress on the cell and prevents it from running out of charge due to the parasitic drain that some vaporizers have.
If you find yourself recharging daily and want to keep your battery in tip-top shape, try not to let it go below 20% charge too often, and when you charge it back up, don’t exceed much higher than 80% charge. A battery left at full charge is under the most stress it can possibly endure, and if you leave a battery at full charge for a while, you’ll reduce its overall lifespan.
Finally, while quick charging might be extremely convenient, it comes at a cost of the lifespan of your battery. Quick charging heats up your battery far faster and to higher temperatures than traditional charging methods, and heat is a battery’s worst enemy. Use quick charging sparingly, not at your leisure. Your battery will thank you!
After a long life of reliable service, all batteries will eventually fail. The average lithium-ion battery used in vaporizers is rated for roughly 400 to 600 charge cycles, with 1 charge cycle being a full depletion and chargeback to roughly full power. Once a battery no longer charges, safely dispose of it in an e-waste receptacle and replace the battery of your device, if it has a replaceable battery.
If you're interested in learning more about how to use vape batteries safely, we have an article dedicated to this topic.
#5 Don’t neglect your e-liquid
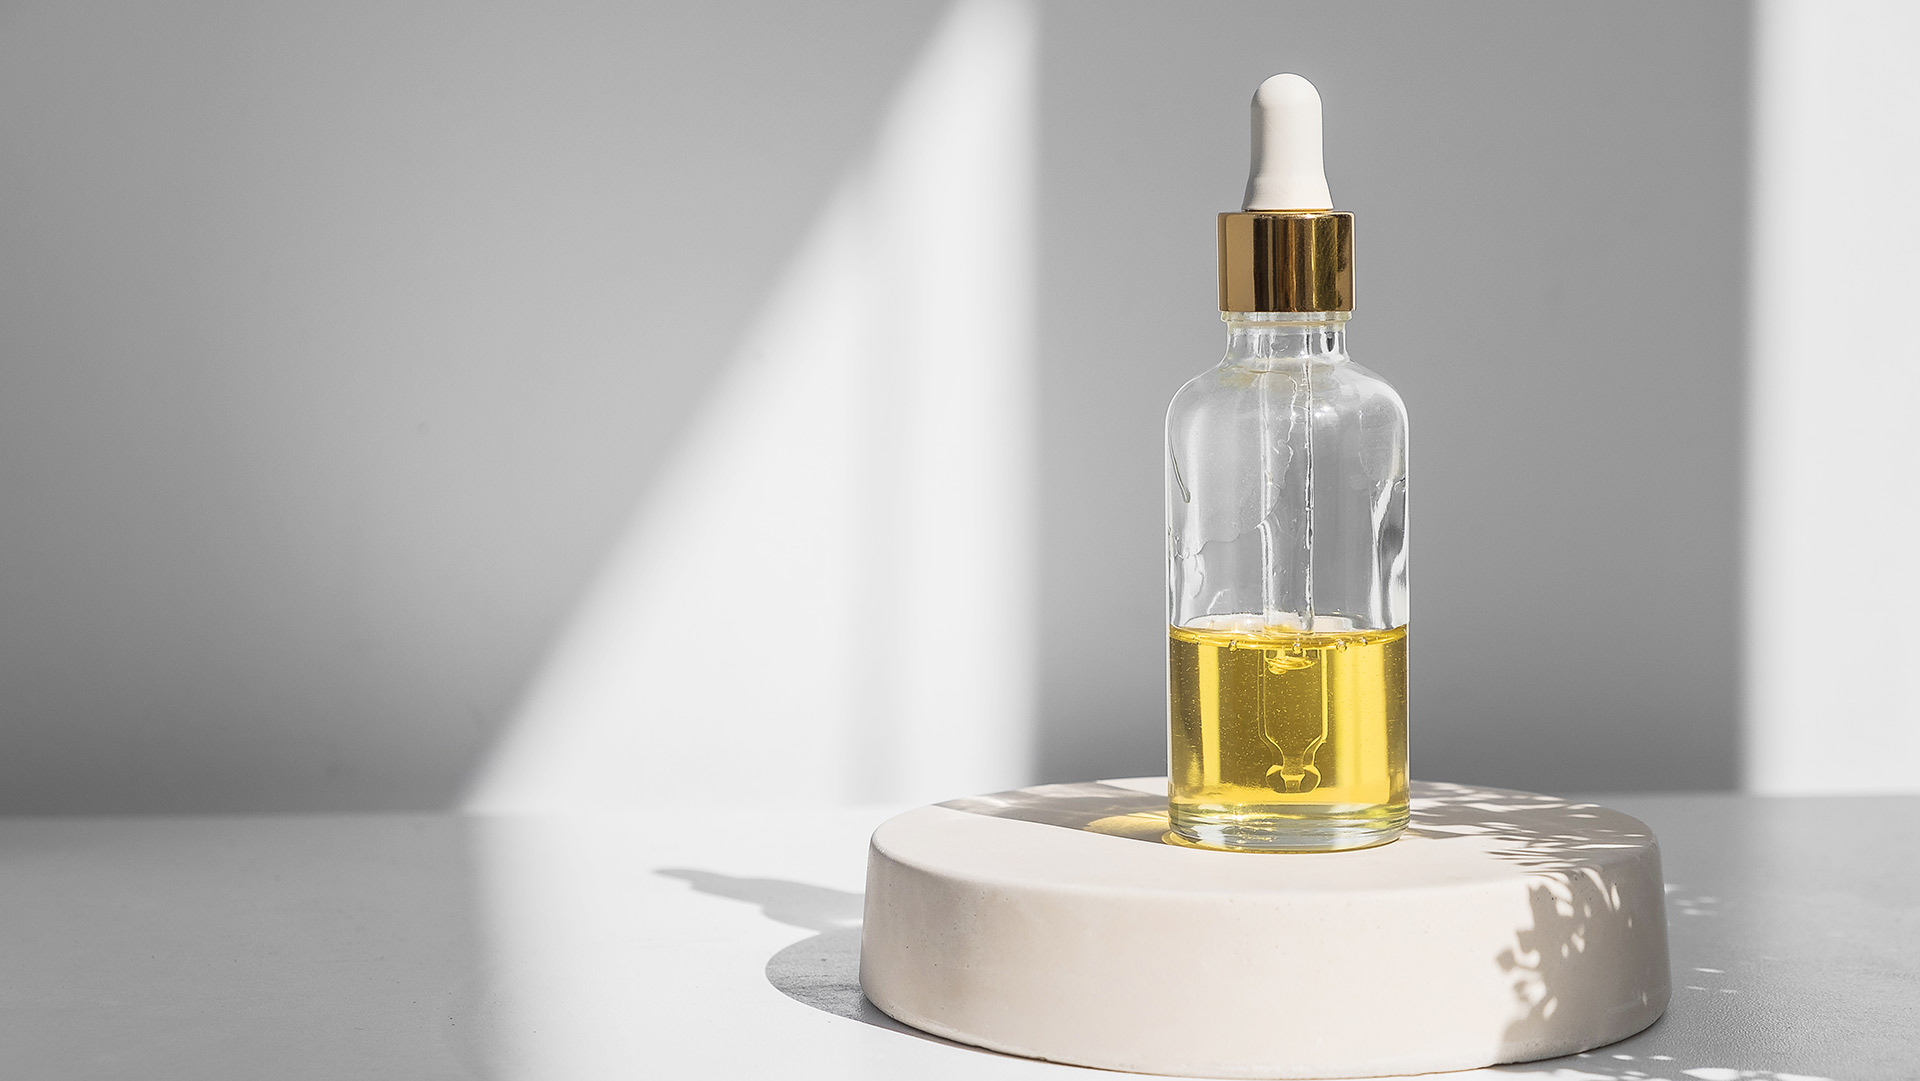
While not tied to your vaporizer directly, the quality, flavoring, and storage of your e-liquid play a large role in ensuring your device is working optimally. Just as you wouldn’t put low-quality gasoline in a sports car, you should aim to only use quality e-liquids in your vaporizer.
When exposed to heat and sunlight, the nicotine in your e-liquid can oxidize, turning the liquid into a brownish color and diminishing the flavor of your e-liquid. Oxidized nicotine is also much harsher to inhale, making for a less smooth vaping experience. Store your e-liquid in a cool, dark, and dry place at all times if possible.
Some e-liquids use additional added ingredients to “improve” the flavor or sensation of your vape. While this sounds great in practice, in the short term these additives generally have a negative effect on your coil life, and subsequently your vaping experience. Sucralose, ethyl maltol, stevia, and erythritol are all common sweeteners added to certain brands of e-liquid that are known as “coil-killers” - named due to their likelihood of severely reducing the lifespan and performance of your coils. Find an e-liquid that you like that is sweetener-free, and your coils will thank you for it!
Finally, be mindful of the mix of your e-liquid. E-liquids are most commonly made from a mix of VG (vegetable glycerin), PG (propylene glycol), and flavorings. The ratio of VG to PG can affect your coil’s performance and vaping experience. Generally, mouth-to-lung style coils call for a more balanced ratio of VG to PG, such as 50/50, and direct-lung style coils can handle more VG, such as a 70/30 ratio. Using a suitable mix for your coil goes a long way in ensuring you get consistent and reliable performance out of your vaporizer.
If you’d like to know more about how to properly care for your e-liquid, we suggest checking out our article here.
A well-maintained vape makes for a happy vaper.
Armed with your newfound knowledge, you can now take steps to keep your mod clean, keep your tank clean, maintain and replace your coils, keep your battery working well, and how to choose and store the e-liquid that’s right for you and your vape.
Have any of these maintenance methods helped you in the past? Do you have any tips to help keep your device running smoothly? Let us know in the comments below!

Joseph Dalessandro
Hey, Joseph here! Vaping enthusiast, nerd, cyclist, dog lover, marketer and 6 years strong at Innokin. If you can't catch me helping out on Reddit or writing on this blog, I'm probably diving deep into a new RPG or looking for a new bike trail to race down. Free me to find me on Reddit @innokin_joseph~

![How to Maintain Your Vaporizer? [Top 5 Ways]](https://www.innokin.com/hubfs/Maintain%20your%20vape.jpg)
